Baking Up Unforgettable Moments on a Busy Schedule
Hello, wonderful friends! Olivia here, your go-to gal for making life’s special occasions feel truly extraordinary, even when your schedule is packed tighter than a freshly organized pantry. As a working mom of two, I know firsthand how challenging it can be to juggle a full-time job, family commitments, and still find the energy to create something beautiful for those who matter most. There were years when I leaned heavily on store-bought items, feeling a pang of guilt that I wasn’t able to craft those homemade touches I envisioned. But then, I discovered the absolute magic of efficient planning and smart prep, much like I do with my weekly meal prepping. This shift transformed not just our weeknight dinners, but also how I approach making moments memorable, like a homemade 23rd birthday cake.
Making a gorgeous, homemade cake for a loved one’s birthday doesn’t have to mean sacrificing an entire day or battling kitchen chaos. It’s all about having a solid, reliable recipe and a few organizational tricks up your sleeve. Just like my Sunday simple dump cake recipe prep sessions save us from takeout exhaustion, this birthday cake recipe is designed to be straightforward, allowing you to create something truly spectacular without the stress. We’re talking about a beautiful 23rd birthday cake that looks like it came from a professional bakery but is entirely within reach for any home baker, no matter how busy you are. It’s budget-friendly, efficient, and yields impressive results – truly a win-win-win in my book!
I’m so excited to share this particular birthday cake recipe because it’s become a staple in our family for milestone events. It’s wonderfully versatile and truly delivers on flavor and presentation. Whether you’re celebrating a 23rd birthday or any other special event, this cake is designed to impress and leave a lasting impression. It’s the kind of project that feels rewarding, giving you that ‘I did that!’ feeling without adding unnecessary pressure to your already full plate. So, let’s roll up our sleeves and get ready to create some delicious memories!
Table of Contents
- Baking Up Unforgettable Moments on a Busy Schedule
- Why This Recipe Works
- Ingredients You’ll Need
- Step-by-Step Instructions
- Pro Tips for a Flawless Cake
- Variations & Substitutions
- Frequently Asked Questions About This Cake
- Final Thoughts on Your Beautiful Creation
Why This Recipe Works
This isn’t just another birthday cake recipe; it’s a meticulously crafted plan for success, designed with efficiency and impressive results in mind. Here’s why this particular recipe will become your new favorite for any special occasion:
- Remarkably Straightforward: Despite its stunning appearance, this cake is incredibly easy to assemble. The steps are clear, concise, and designed to prevent common baking pitfalls. Even if you’re not a seasoned baker, you’ll find the process manageable and stress-free. We break down the cake layers and the frosting into distinct, achievable stages, making it perfect for a weekend project or even spreading tasks over a couple of evenings. This systematic approach ensures that you stay organized, preventing any last-minute rushes, much like how my batch-cooking sessions keep weeknights calm.
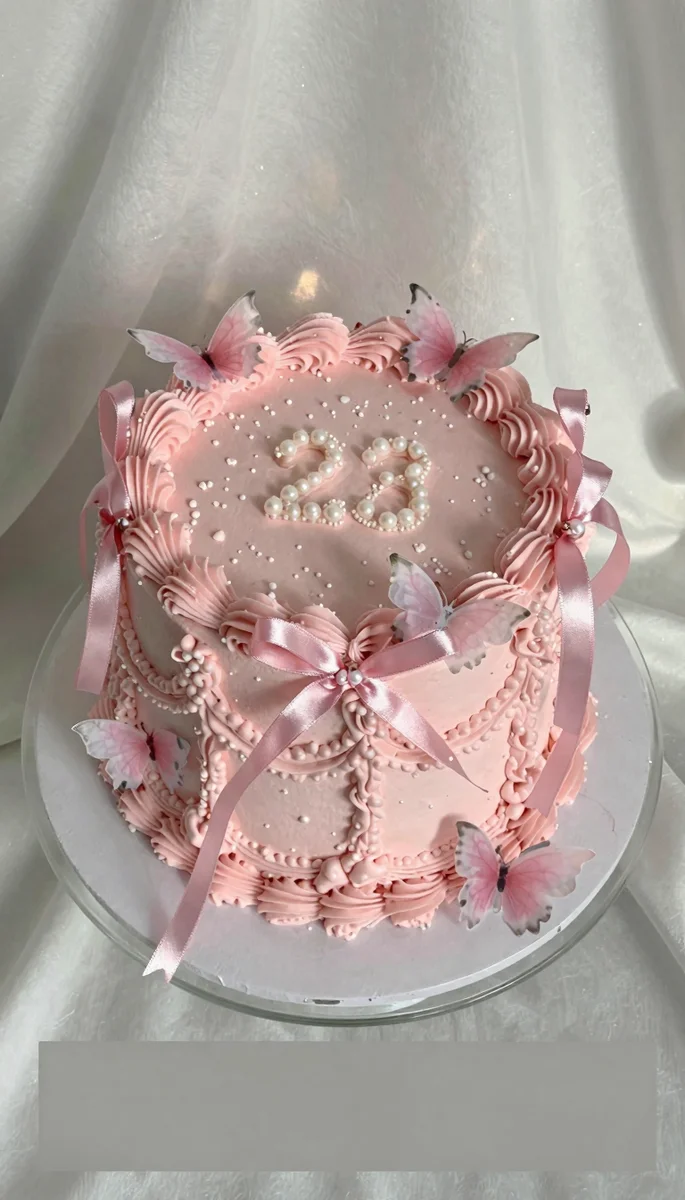
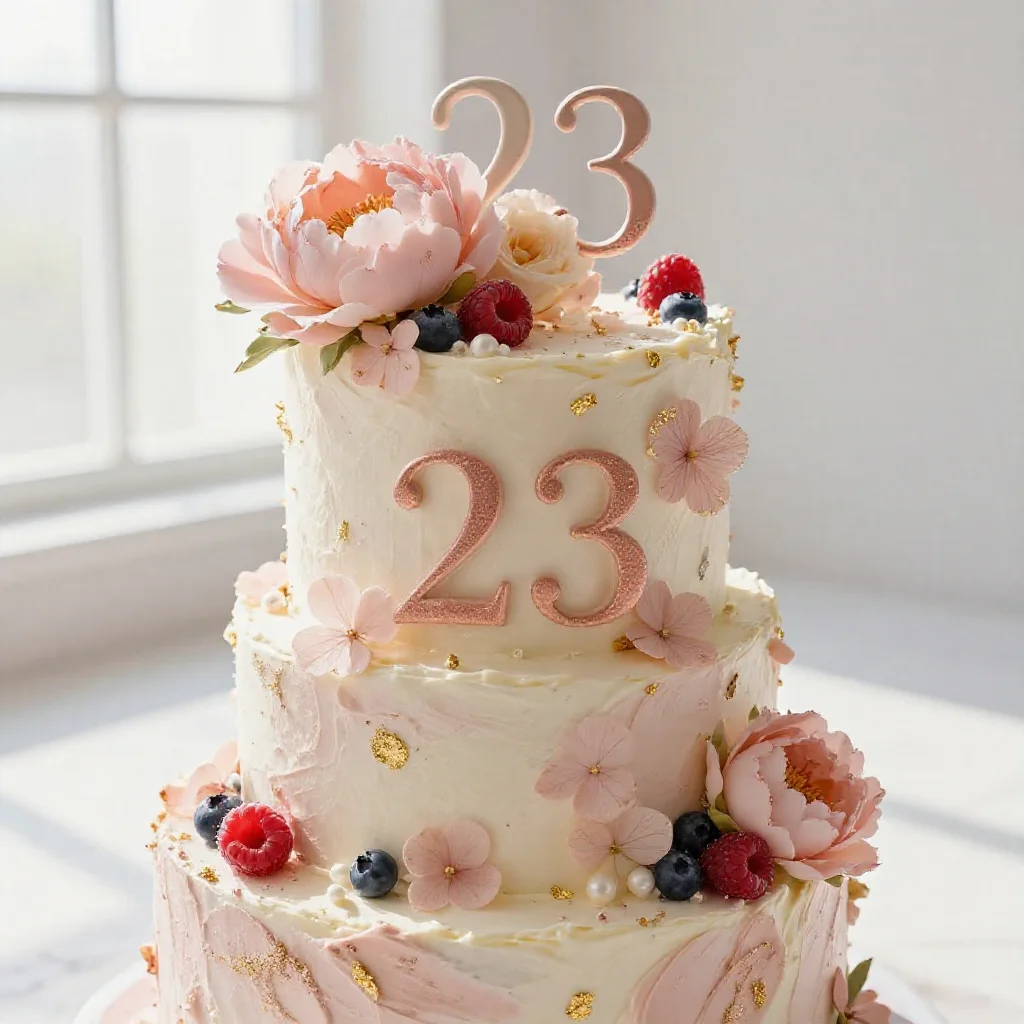
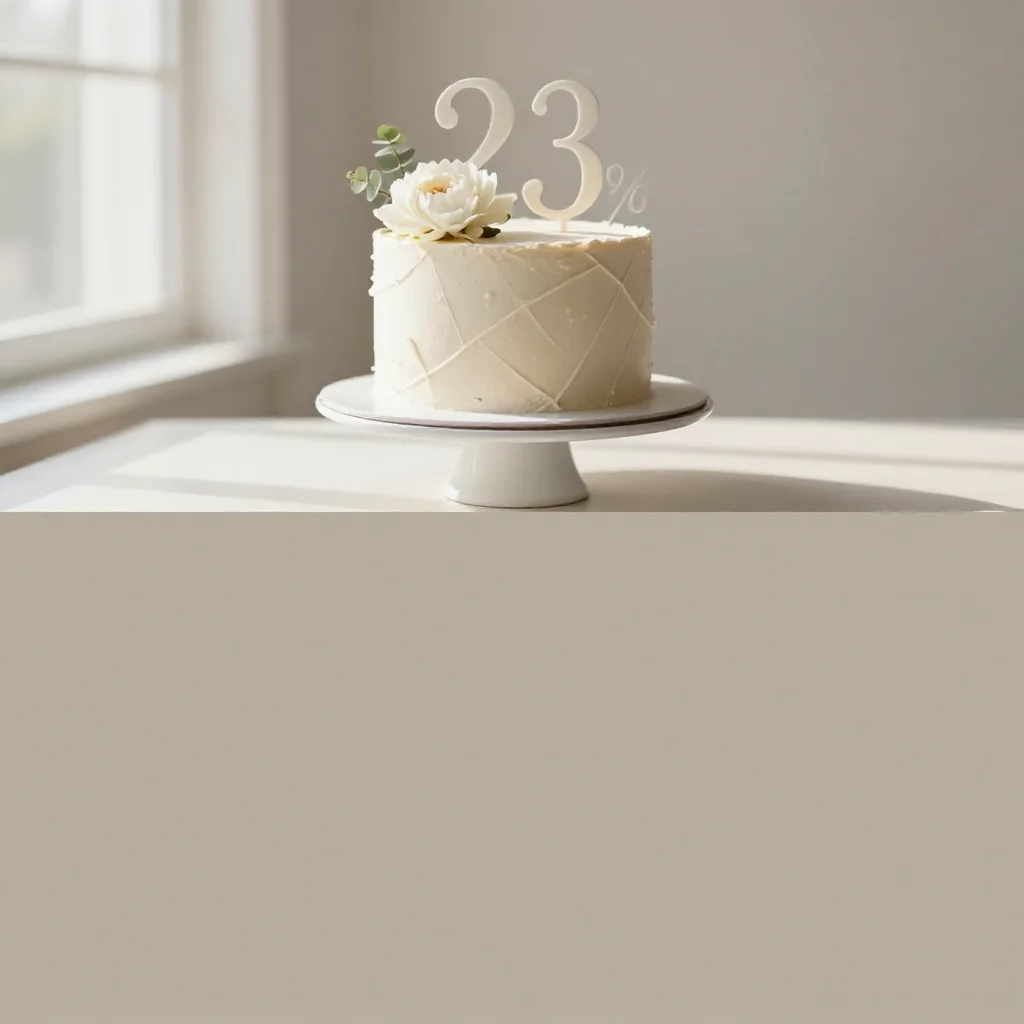
- Visually Striking & Customizable: The beauty of this cake lies in its elegant simplicity, which provides a perfect canvas for personalization. With a few thoughtful decorations, you can transform a simple vanilla cake into a beautiful 23rd birthday cake that perfectly suits the recipient’s style. The recommended pink and gold sprinkles, fresh fruit, and optional edible glitter create a sophisticated yet fun aesthetic. You can easily adapt the colors and toppings to match any theme or preference, ensuring that your homemade cake feels incredibly personal and special for her.
- Delicious & Crowd-Pleasing Flavor: Beyond its looks, this cake boasts a classic, tender vanilla crumb and a rich, creamy buttercream frosting that everyone adores. It’s a flavor profile that appeals to nearly all palates, making it a reliable choice for any gathering. The balance of sweetness and a hint of vanilla ensures that each slice is satisfying without being overly heavy. This is the kind of cake that will have everyone asking for the recipe, making you feel like a superstar baker without any extra fuss.
Ingredients You’ll Need
Gathering your ingredients ahead of time is step one in any efficient kitchen plan. Think of it as your mise en place for success! Here’s what you’ll need to create this beautiful 23rd birthday cake:
For the Cake:
- 2 ½ cups all-purpose flour
- 1 ½ cups granulated sugar
- 1 tablespoon baking powder
- ½ teaspoon salt
- 1 cup (2 sticks) unsalted butter, softened
- 4 large eggs
- 1 cup whole milk
- 2 teaspoons vanilla extract
For Buttercream Frosting:
- 1 cup (2 sticks) unsalted butter, softened
- 4 cups powdered sugar, sifted
- ¼ cup heavy cream or milk
- 1 teaspoon vanilla extract
- Pinch of salt
For Decoration:
- Pink and gold sprinkles
- Fresh raspberries or strawberries
- Edible glitter spray (optional)
Step-by-Step Instructions
Now, let’s get down to the practical steps! Just like I organize my weekly meal prep into manageable tasks, we’ll tackle this birthday cake recipe in a clear, sequential manner. Remember, precision leads to perfection in baking!
Preparing the Cake Layers:
- Preheat and Prep Pans: Begin by preheating your oven to a precise 350°F (175°C). This ensures your oven is at the correct temperature when the batter is ready, which is crucial for even baking. Next, meticulously grease and flour two 8-inch round cake pans. You can use baking spray with flour or butter and a light dusting of flour. This step is non-negotiable for ensuring your cakes release cleanly.
- Combine Dry Ingredients: In a large mixing bowl, whisk together the all-purpose flour, granulated sugar, baking powder, and salt. Whisking ensures these ingredients are thoroughly combined and aerated, which contributes to a light and tender cake crumb. Set this aside for a moment.
- Cream Wet Ingredients: In a separate, medium-sized bowl, using an electric mixer, cream the softened unsalted butter until it’s light and fluffy. This usually takes about 2-3 minutes on medium speed. Gradually beat in the large eggs, one at a time, ensuring each egg is fully incorporated before adding the next. This prevents the batter from curdling. Finally, stir in the vanilla extract, giving your cake that wonderful aroma and flavor foundation.
- Combine Wet and Dry: This is where the magic happens! Gradually add the dry ingredients to the wet ingredients, alternating with the whole milk. Start and end with the dry ingredients. For example, add about a third of the dry mix, then half the milk, then another third of the dry, the remaining milk, and finally the last third of the dry. Mix on low speed until just combined after each addition. The key here is to avoid overmixing, which can lead to a tough cake. A few small lumps are perfectly fine!
- Fill and Bake: Divide your beautiful batter evenly between the two prepared cake pans. You can use a kitchen scale for precision if you want truly even layers, which I always recommend for a professional look. Bake for 28-32 minutes, or until a wooden skewer or toothpick inserted into the center of a cake comes out clean. Ovens vary, so keep a close eye on them towards the end of the baking time.
- Cool the Cakes: Allow the cakes to cool in their pans for 10-15 minutes on a wire rack. This initial cooling allows the cakes to firm up slightly, making them easier to handle. After this period, carefully invert them onto the wire rack to cool completely. It’s absolutely essential that your cake layers are fully cooled before frosting; otherwise, your buttercream will melt and slide right off, creating a sticky situation you want to avoid!
Crafting the Buttercream Frosting:
- Beat the Butter: While your cake layers are cooling, you can efficiently move on to preparing the buttercream. In a large bowl, using an electric mixer, beat the softened unsalted butter until it is light, creamy, and pale in color. This takes about 3-5 minutes on medium-high speed. Proper creaming here is vital for a fluffy frosting.
- Add Powdered Sugar: Gradually add the sifted powdered sugar to the butter, beating on low speed until it’s mostly incorporated, then increase the speed to medium-high and beat until smooth and fluffy. Sifting the powdered sugar beforehand is a game-changer for avoiding lumps!
- Achieve Perfect Consistency: Add the heavy cream or milk, vanilla extract, and a pinch of salt. Beat on high speed for another 2-3 minutes until the frosting is incredibly light, airy, and fluffy. If your frosting seems too thick, add a tiny bit more cream, a teaspoon at a time. If it’s too thin, add a tablespoon more sifted powdered sugar. The goal is a spreadable yet firm consistency.
Assembling and Decorating Your Beautiful Cake:
- First Layer: Once both cake layers are completely cool (I can’t stress this enough!), place one cake layer on your chosen serving plate or cake stand. If your cake has a domed top, you can use a serrated knife to level it for a more stable and professional stack. Spread a generous, even layer of buttercream frosting over the top of the first cake layer.
- Second Layer and Crumb Coat: Carefully place the second cake layer on top. Apply a thin layer of frosting over the entire cake – top and sides. This is called a crumb coat. Its purpose is to trap any loose crumbs, ensuring a clean finish for your final frosting layer. Pop the cake into the refrigerator for 15-20 minutes to allow the crumb coat to set. This step, while seemingly minor, makes a huge difference in the final appearance of your homemade cake.
- Final Frosting: Remove the chilled cake from the refrigerator. Cover the entire cake with the remaining buttercream frosting, using an offset spatula or knife to smooth the sides and top. Take your time here; a smooth finish really elevates the look of your 23rd birthday cake.
- Decorate with Flair: Now for the fun part – decoration! Generously sprinkle pink and gold sprinkles around the base or over the top of the cake. Arrange fresh raspberries or strawberries artfully on top for a vibrant, elegant touch. If you want an extra bit of sparkle, lightly spray with edible glitter. You can also add some personalized touches like piping the number ’23’ or the recipient’s initial with leftover frosting, or check out other celebration cake ideas for inspiration.
Pro Tips for a Flawless Cake
As an organized home cook, I’ve picked up a few tricks over the years that can make your baking projects go from good to absolutely fantastic. These pro tips are all about maximizing efficiency and ensuring a stress-free outcome for your beautiful 23rd birthday cake.
- Room Temperature Ingredients are Key: This is a golden rule in baking, especially for cakes and buttercreams. Ensure your butter, eggs, and milk are at room temperature. Softened butter creams beautifully, creating an emulsion that traps air, leading to a lighter, fluffier cake. Cold ingredients can cause your batter to curdle and affect the texture of your final product. Plan ahead by taking them out of the fridge at least 30 minutes to an hour before you start baking.
- Don’t Overmix the Batter: Once you start adding the dry ingredients to the wet, mix only until just combined. Overmixing develops the gluten in the flour too much, which can result in a tough, dense cake. We’re aiming for a tender crumb here, so stop the mixer as soon as you no longer see streaks of dry flour. A few small lumps are perfectly acceptable and won’t affect the final texture.
- Achieve Even Cake Layers with a Scale: For a truly professional-looking cake, consistency is everything. After mixing your batter, use a kitchen scale to divide the batter equally between your two prepared cake pans. This ensures both layers bake evenly and will stack perfectly without needing excessive leveling. This simple step makes a huge difference in the overall presentation of your homemade cake.
- The Magic of a Crumb Coat: Never skip the crumb coat! After stacking your cooled cake layers, apply a very thin layer of frosting all over the cake – top and sides. This traps any loose crumbs, preventing them from mixing into your final, pristine layer of frosting. Pop the cake in the fridge for 15-20 minutes to set this crumb coat. Once it’s firm, you can apply your second, thicker layer of frosting for a perfectly smooth and crumb-free finish. This makes your decorating process so much more enjoyable and efficient.
Variations & Substitutions
One of the best parts about making a homemade cake is the ability to customize it to fit any taste or theme. This basic birthday cake recipe is incredibly versatile, allowing you to get creative while still maintaining that stress-free approach. Here are a few ideas to inspire you:
- Flavor Swaps: Want a different cake flavor? You can easily transform this vanilla base. For a lemon cake, add 2 tablespoons of lemon zest and 1 tablespoon of fresh lemon juice to the batter. For a chocolate cake, reduce the flour by ½ cup and add ½ cup of unsweetened cocoa powder, sifting it with the dry ingredients. You could even swirl in some raspberry jam between the layers for a fruitier profile, or try a fun themed cake like a Bluey cake.
- Frosting Fun: While the classic buttercream is fantastic, feel free to experiment. You could add a tablespoon of instant espresso powder to the buttercream for a coffee flavor, or stir in a few drops of food coloring to match your party’s aesthetic. Cream cheese frosting would also be a wonderful, tangy alternative. If you’re looking for cute and easy desserts, consider making cupcakes with this same batter and frosting!
- Decoration Alternatives: Beyond the pink and gold sprinkles and fresh fruit, the possibilities are endless! Consider edible flowers for a truly elegant look, chocolate shavings, toasted coconut flakes, or even some delicate meringue cookies. For a specific 23rd birthday cake theme, you could incorporate small edible toppers or a custom cake topper. The key is to have fun with it and let your imagination guide you.
- Dairy-Free Option: If you need a dairy-free version, simply substitute the whole milk with a non-dairy milk alternative (like almond or oat milk) and use a high-quality dairy-free butter substitute for both the cake and the frosting. Ensure your dairy-free butter is softened to the correct consistency for the best results.
Frequently Asked Questions About This Cake
I know you might have a few questions about making this beautiful 23rd birthday cake, especially if you’re aiming for a stress-free baking experience. Here are some common queries I often get, along with my practical answers:
Can I make this cake ahead of time?
Absolutely! This is a fantastic cake for making ahead, which aligns perfectly with an efficient, organized approach. You can bake the cake layers up to 2-3 days in advance. Once completely cooled, wrap each layer tightly in plastic wrap and store at room temperature. For longer storage, freeze the wrapped layers for up to a month. Thaw them overnight in the refrigerator before frosting. The buttercream can also be made 2-3 days ahead and stored in an airtight tupperware container in the refrigerator. Before using, let it come to room temperature and re-whip it with an electric mixer until light and fluffy again.
How should I store the finished cake?
Once frosted and decorated, the cake can be stored at room temperature in an airtight cake carrier for up to 2 days. If your kitchen is particularly warm, or if you’ve used fresh fruit that might spoil quickly, it’s best to store it in the refrigerator. Just be sure to bring it to room temperature for about 30-60 minutes before serving, as cakes taste best when not eaten straight from the cold fridge. This allows the butter and flavors to soften and become more prominent.
Can I make this into cupcakes?
Yes, you certainly can! This versatile birthday cake recipe is excellent for cupcakes. Simply line a muffin tin with cupcake liners and fill each about two-thirds full with batter. Bake for approximately 18-22 minutes, or until a toothpick inserted comes out clean. The yield will be roughly 24 cupcakes. This is a brilliant, budget-friendly option if you’re serving a crowd or want individual portions, and they are always a hit!
What if my buttercream is too stiff or too runny?
Don’t worry, this is a common issue and easily fixable! If your buttercream is too stiff, add heavy cream or milk, one teaspoon at a time, beating after each addition until you reach your desired consistency. If it’s too runny, gradually add more sifted powdered sugar, one tablespoon at a time, until it thickens up. Remember, it’s always easier to add more of an ingredient than to take it away, so go slowly and adjust as needed.
Final Thoughts on Your Beautiful Creation
And there you have it! A beautiful 23rd birthday cake that’s not only impressive to look at but also incredibly delicious and, most importantly, achievable without unnecessary stress. As Olivia, I truly believe that creating special moments shouldn’t add to our already busy lives but rather enhance them. This recipe embodies that philosophy: it’s efficient, budget-friendly, and results in something truly wonderful for her.
I hope you feel empowered and excited to try this homemade cake recipe. There’s something incredibly rewarding about presenting a cake that you’ve crafted with your own hands, knowing the care and thought that went into it. It’s a testament to the power of planning and a good recipe. Whether it’s for a milestone 23rd birthday or just an excuse to bake something lovely, this cake will surely make the occasion memorable.
So, go ahead, gather your ingredients, put on some music, and enjoy the process. I’m confident you’ll create a stunning and tasty masterpiece that will bring smiles and admiration. Let me know how it turns out – I always love hearing about your kitchen successes! Happy baking, and here’s to many more stress-free, delicious moments.
Beautiful 23rd Birthday Cake For Her
Ingredients
Method
- Preheat oven to 350°F (175°C). Grease and flour two 8-inch round cake pans.
- In a large bowl, whisk together flour, sugar, baking powder, and salt.
- In a separate bowl, cream softened butter until fluffy. Beat in eggs one at a time, then vanilla extract.
- Gradually add dry ingredients to wet, alternating with milk. Mix until just combined, do not overmix.
- Divide batter evenly between pans. Bake for 28-32 minutes, or until a skewer comes out clean.
- Cool cakes in pans for 10-15 minutes, then invert onto a wire rack to cool completely.
- Prepare frosting: Beat softened butter until creamy. Gradually add sifted powdered sugar, then cream/milk, vanilla, and salt. Beat on high until light and fluffy.
- Once cakes are cool, place one layer on a plate, spread with frosting, then add the second layer.
- Cover the entire cake with remaining frosting, smoothing sides and top.
- Decorate with pink and gold sprinkles, fresh berries, and edible glitter spray if desired. Add '23' candles.
Notes
Loved this recipe? Save it to your favorite Pinterest board so you can easily find it later! ✨