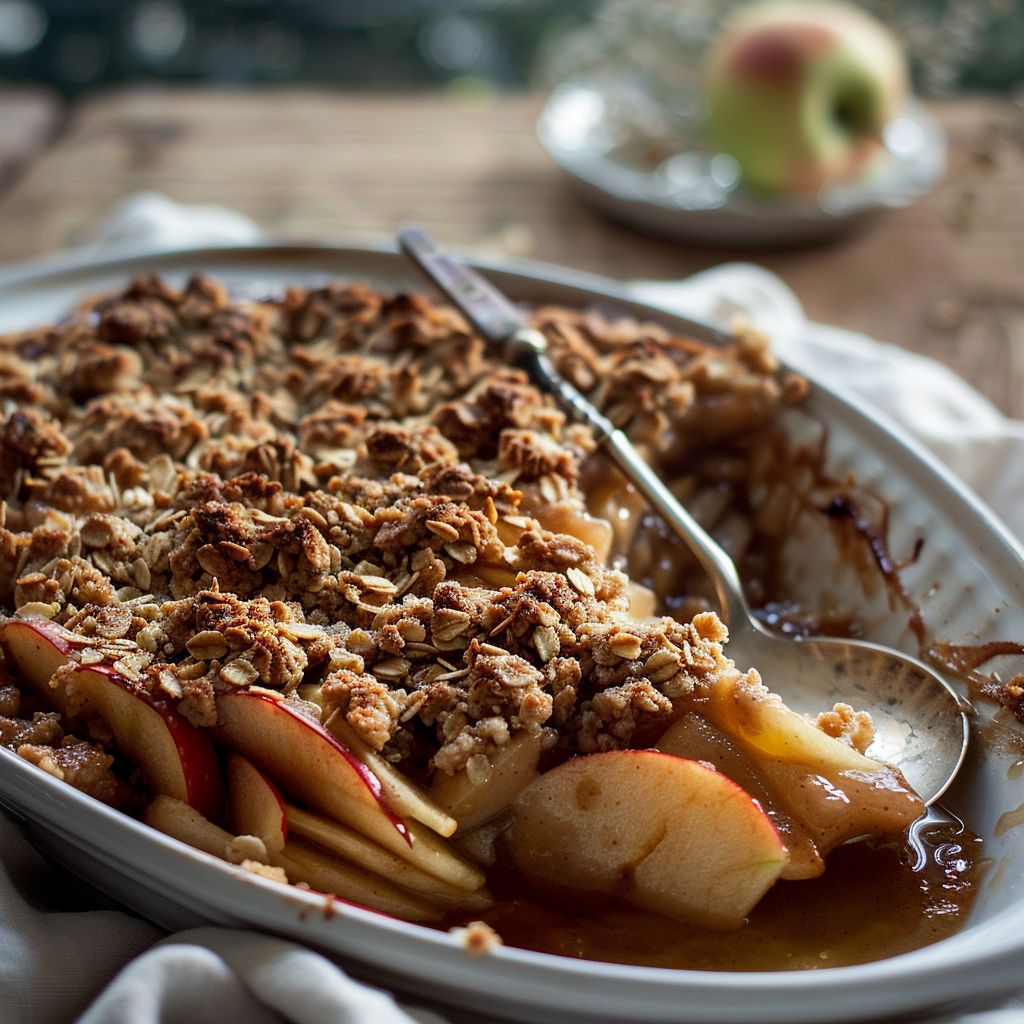
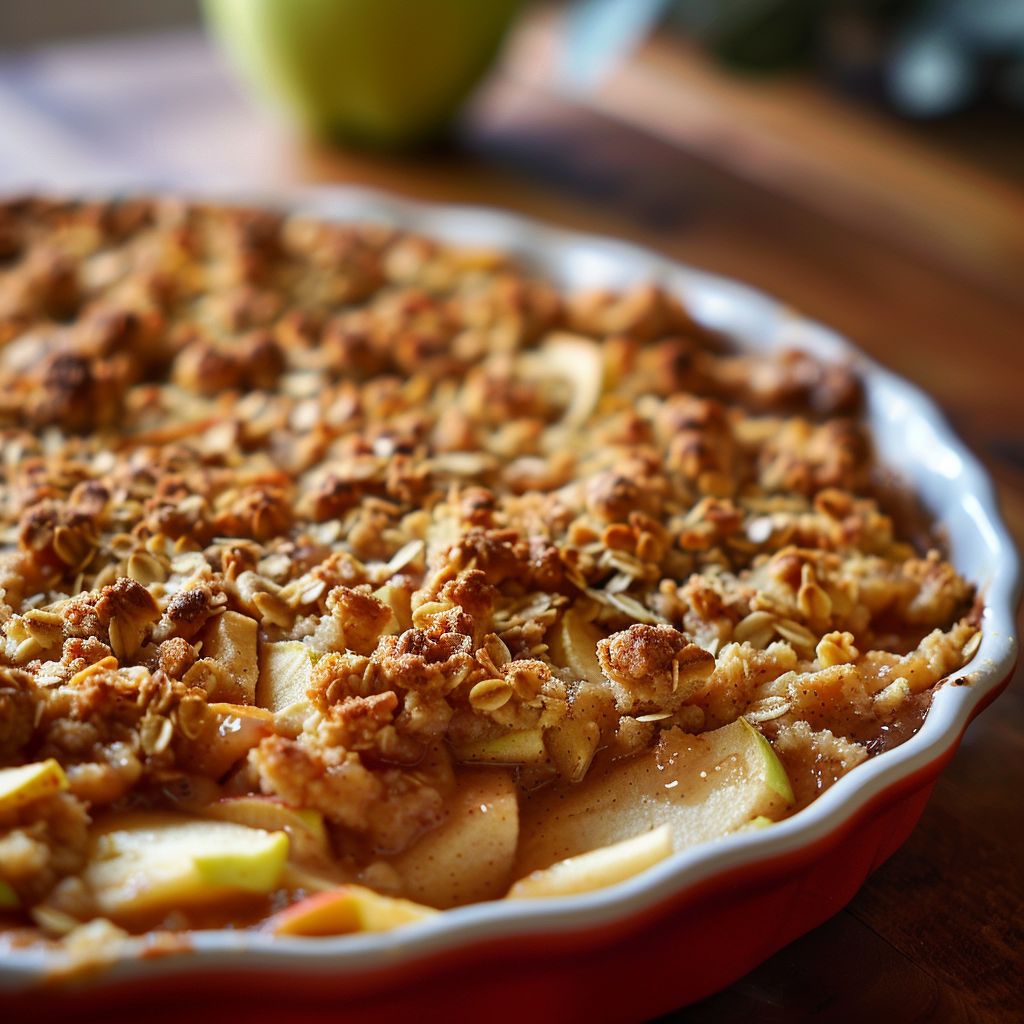
Embrace the Comfort of Classic Apple Crisp
As the leaves begin to turn and the air cools, nothing evokes the spirit of the season quite like a warm, homemade apple crisp. This timeless dessert, with its sweet and tart flavor profile, is more than just a treat; it’s a celebration of the simple joys of life and the craftsmanship that goes into creating it. In this comprehensive guide, we will explore how to create the perfect classic apple crisp, from selecting the right apples to serving suggestions that will delight your family and friends.
Why You’ll Love This Recipe
Creating a classic apple crisp is not just about following a recipe; it’s an experience that offers numerous benefits:
- Simple Ingredients: This recipe uses common pantry staples, making it easy to throw together at a moment’s notice.
- Customizable: The beauty of apple crisp lies in its versatility—feel free to mix different types of apples and toppings.
- Perfect for Sharing: This dessert is best served warm and can easily feed a crowd, making it ideal for gatherings.
- Comforting Aroma: The scent of cinnamon and baked apples wafting through your home is pure bliss.
- Easy to Prepare: With straightforward steps, even novice bakers can achieve a delicious result.
Ingredient Breakdown
Understanding the components of your dish is crucial for achieving the best results. Here’s a detailed look at each ingredient used in this classic apple crisp recipe:
- Apples: Choose firm varieties like Granny Smith for tartness or Honeycrisp for sweetness. Aim for about 6 cups, peeled and sliced.
- Granulated Sugar: This provides essential sweetness that complements the natural sugars in the apples.
- Cinnamon and Nutmeg: These spices add warmth and depth of flavor. Adjust according to your taste preference.
- Lemon Juice: A touch of acidity that enhances the flavor profile and prevents the apples from browning.
- Rolled Oats: They add texture to the topping, giving it that delightful crunch.
- All-Purpose Flour: This helps bind the topping ingredients together.
- Brown Sugar: For a deeper, richer sweetness that complements the crisp topping.
- Cold Butter: Cubed and cut into the dry ingredients for a flaky topping.
- Salt: Just a pinch to enhance overall flavors.
Pro Tips for the Perfect Classic Apple Crisp
To elevate your apple crisp game, consider these expert insights:
- Apple Selection: Mix different apple varieties for a more complex flavor. A combination of sweet and tart apples creates balance.
- Texture Matters: Avoid over-mixing the topping; aim for a crumbly texture for the best crunch.
- Preheat Your Oven: Ensuring your oven is at 350°F (175°C) before baking helps the crisp bake evenly.
- Resting Time: Let the apple crisp cool for about 10 minutes before serving to allow the juices to settle.
- Serving Suggestions: Pair with a scoop of vanilla ice cream or a dollop of whipped cream for an indulgent treat.
- Make Ahead: Prepare the apple filling a day in advance and store it in the fridge for added convenience.
- Experiment with Toppings: Try adding nuts or coconut to the topping for added texture and flavor.
- Storage Tips: Keep leftovers in an airtight container in the fridge for up to 3 days, or freeze for longer storage.
Common Mistakes and Troubleshooting
Even seasoned bakers can encounter hurdles. Here are common pitfalls and how to avoid them:
- Too Watery: If your crisp is too soggy, reduce the amount of sugar or increase the baking time slightly to allow more moisture to evaporate.
- Topping Too Dry: If your topping lacks moisture, try adding a bit more butter or a splash of apple juice to enhance texture.
- Uneven Baking: Rotate your baking dish halfway through the baking time for even cooking.
Delicious Variations of Classic Apple Crisp
While this classic apple crisp recipe is delightful as is, you can easily switch things up with these variations:
- Pear and Apple Crisp: Combine sliced pears with apples for a different texture and flavor.
- Maple Apple Crisp: Substitute granulated sugar with pure maple syrup for a unique sweetness.
- Oatmeal Raisin Crisp: Add raisins to the apple filling for a chewy component.
- Spiced Apple Crisp: Incorporate additional spices like ginger or cardamom for a warm, aromatic twist.
Storage and Make-Ahead Instructions
For those busy holiday seasons, you can prepare your apple crisp ahead of time:
- Refrigeration: Once baked, allow the crisp to cool, then cover it tightly with plastic wrap and refrigerate for up to 3 days.
- Freezing: Assemble the apple crisp (without baking) and freeze it. When ready to enjoy, bake it directly from the freezer, adding extra baking time.
- Reheating: Warm individual portions in the microwave or place the entire dish in a preheated oven at 350°F (175°C) until heated through.
Frequently Asked Questions
As you embark on your apple crisp journey, you may have some questions. Here are answers to common inquiries:
- Can I use frozen apples?: Yes, but thaw and drain excess moisture before using them in your crisp.
- What type of apples are best for baking?: Firm and tart varieties like Granny Smith, Fuji, or Honeycrisp work best.
- Can I substitute gluten-free flour?: Absolutely! Use a 1:1 gluten-free baking flour for a gluten-free version.
- How can I make it vegan?: Substitute butter with coconut oil or a plant-based margarine.
- Can I make this in advance?: Yes, you can prepare the filling ahead of time and store it in the fridge.
- Why is my topping soggy?: Ensure that your butter is cold and not overmixed to keep the topping crumbly.
- Why does my crisp lack flavor?: Taste and adjust the sugar and spices; fresh ingredients make a significant difference.
- What do I serve with apple crisp?: Vanilla ice cream or fresh whipped cream are perfect complements.
Nutritional Tips and Dietary Adaptations
For a healthier apple crisp, consider these adaptations:
- Reduce Sugar: Cut down on sugar for a lighter dessert; the natural sweetness of apples can shine through.
- Whole Grain Option: Use whole wheat flour instead of all-purpose flour for a nutritious boost.
- Natural Sweeteners: Substitute granulated sugar with honey or agave nectar for a different sweetness profile.
Essential Equipment Recommendations
To craft your classic apple crisp, here are some essential tools:
- 9×13 inch Baking Dish: Ideal for even cooking and easy serving.
- Mixing Bowls: A variety of sizes for preparing your filling and topping.
- Pastry Cutter: For cutting cold butter into the dry mixture effectively.
- Measuring Cups and Spoons: Precision is key in baking; make sure you have these on hand.
Serving Suggestions
To elevate your apple crisp experience, consider these serving ideas:
- Top with Ice Cream: A scoop of vanilla or caramel ice cream adds a creamy contrast to the warm crisp.
- Garnish with Nuts: Chopped walnuts or pecans sprinkled on top for added crunch.
- Serve with Custard: A rich, homemade custard complements the flavors beautifully.
Conclusion
Creating a classic apple crisp is a rewarding process that not only fills your home with warmth but also creates lasting memories around the table. With this comprehensive guide, you are well-equipped to craft a dessert that embodies the spirit of comfort and tradition. So gather your ingredients, embrace the craft, and enjoy each delicious bite of this beloved recipe. Remember, in the world of baking, it’s not just about the end result; it’s about the journey and the love that goes into every step. Happy baking!

Classic Apple Crisp
Ingredients
Method
- Preheat oven to 350°F (175°C). Toss apples with sugar, cinnamon, nutmeg, and lemon juice; spread in a greased dish.
- Mix oats, flour, brown sugar, and salt. Cut in butter until crumbly. Sprinkle over apples.
- Bake for 45-50 minutes until golden and apples are tender. Cool slightly before serving.
Notes
Loved this recipe? Save it to your favorite Pinterest board so you can easily find it later! ✨