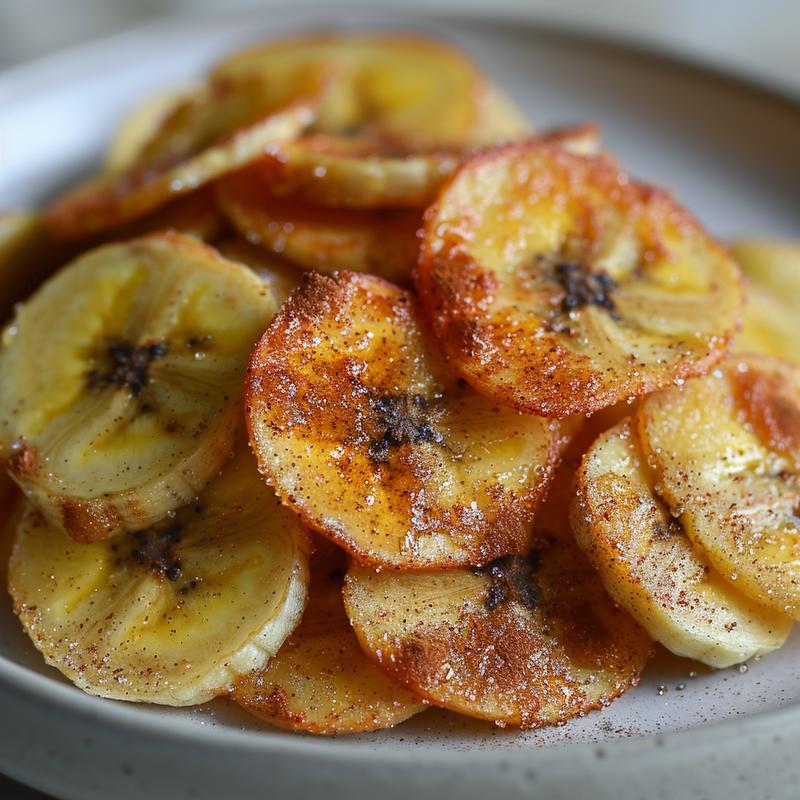
Hey there, friend! Nora from TastyNiche.com here, and I’m SO excited to share one of my all-time favorite snacks with you: homemade banana chips! These aren’t the ones you buy at the store loaded with sugar and oil. Nope! We’re talking about healthy, crispy, naturally sweet banana chips made with just a few simple ingredients. Let’s get started!
I remember the first time I tried making banana chips. Let’s just say they were… not great. Either burnt to a crisp or still weirdly soft. But I didn’t give up, and neither should you! This recipe is super forgiving, and I’m here to guide you every step of the way. We’re going to make some seriously addictive banana chips today, and you won’t believe how easy it is. No added sugar, no oil, just pure banana goodness. How awesome is that?
Why You’ll Love This Recipe
Okay, seriously, prepare to be amazed. These homemade banana chips are a total game-changer. Here’s why you’re going to be obsessed:
- Healthy Snack: Forget those store-bought chips loaded with sugar and artificial flavors. These are naturally sweet and packed with potassium.
- Simple Ingredients: We’re talking a few bananas and maybe a sprinkle of cinnamon. That’s it!
- Easy to Make: Seriously, if you can slice a banana, you can make these.
- Customizable: Add your favorite spices for a unique flavor twist.
- Perfect for On-the-Go: Pack them in your lunchbox, take them on a hike, or just munch on them at your desk.
They’re a great way to satisfy your sweet cravings without any guilt. Trust me, this recipe you won’t regret trying!
Ingredients You’ll Need
This is where it gets REALLY simple. You probably already have everything you need!
- 3-4 slightly unripe bananas (firm to the touch): The key here is slightly unripe. You want them firm so they slice easily and hold their shape during baking. If you use overripe bananas, they will be too soft and mushy.
- 1/2 teaspoon cinnamon (optional): For a warm, comforting flavor.
- 1/4 teaspoon nutmeg (optional): Adds a touch of spice and warmth.
That’s it! Told you it was easy. Now, let’s talk about why these ingredients work so well.
- Bananas are the Star: They provide the natural sweetness and texture we’re looking for.
- Cinnamon and Nutmeg: These spices enhance the natural sweetness of the bananas and add a cozy flavor. Feel free to experiment with other spices like ginger or cardamom!
Step-by-Step Instructions
Alright, let’s get to the fun part! Here’s how to make these amazing banana chips:
- Preheat the Oven: Preheat your oven to 200°F (93°C). This low temperature is crucial for dehydrating the bananas without burning them. Line a baking sheet with parchment paper. This prevents the chips from sticking and makes cleanup a breeze.
- Slice the Bananas: Peel the bananas and slice them thinly (about 1/8 inch thick). A mandoline is your best friend here, ensuring even slices. If you don’t have one, a sharp knife works just fine. Just take your time and aim for consistent thickness.
- Arrange on Baking Sheet: Arrange the banana slices in a single layer on the prepared baking sheet. Make sure the slices don’t overlap. This allows for even drying.
- Sprinkle with Spices: If using, sprinkle with cinnamon and nutmeg. You can also get creative and try other spices like ginger, cardamom, or even a pinch of chili powder for a little kick!
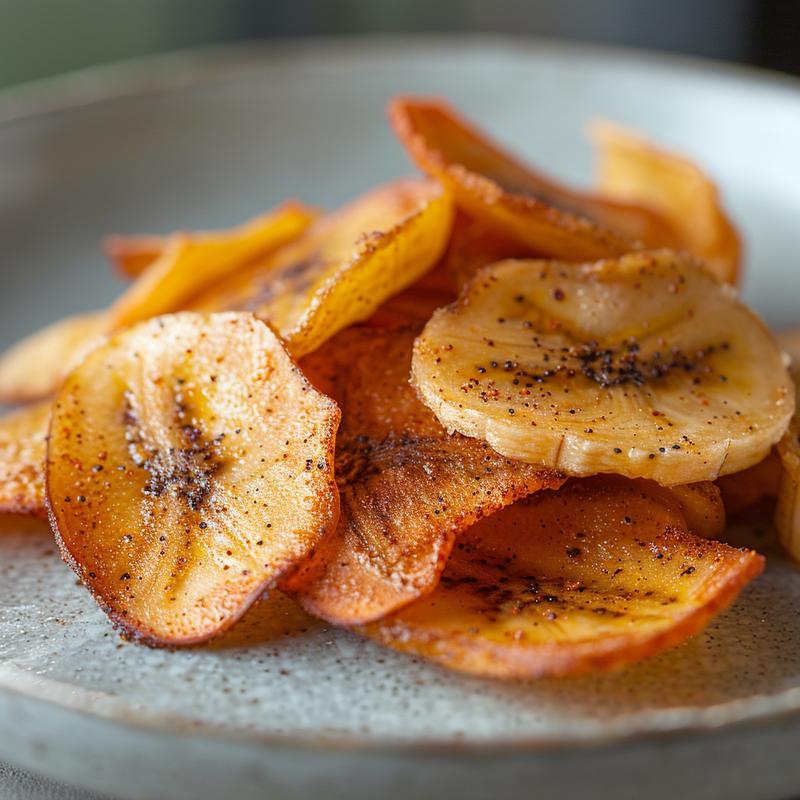
- Bake: Bake for 1-3 hours, flipping halfway through, until the chips are dried and crispy. The baking time will vary depending on the thickness of the slices and your oven. Check frequently after the first hour to prevent burning. The chips should be golden brown and slightly firm to the touch.
- Cool Completely: Let the banana chips cool completely on the baking sheet before storing them in an airtight container at room temperature. They will crisp up even more as they cool.
See? I told you it was easy! Now, let’s talk about some pro tips to ensure your banana chips are perfect every time.
Pro Tips for Perfect Banana Chips
Here are a few tricks I’ve learned along the way to guarantee crispy, delicious banana chips:
- Use Slightly Unripe Bananas: This is key! Slightly unripe bananas hold their shape better and won’t turn to mush during baking.
- Slice Evenly: Consistent thickness is crucial for even drying. A mandoline is a lifesaver, but a sharp knife works too.
- Don’t Overlap: Make sure the banana slices are arranged in a single layer and don’t overlap. This allows for proper air circulation and even drying.
- Low and Slow: Baking at a low temperature is essential for dehydrating the bananas without burning them.
- Be Patient: The baking time can vary depending on your oven and the thickness of the slices. Check frequently and be patient!
These tips will help you get the best results every time. Trust me, it makes a difference!
Common Mistakes to Avoid
We all make mistakes, especially when we’re learning something new. Here are a few common pitfalls to watch out for:
- Using Overripe Bananas: They’ll be too soft and mushy and won’t hold their shape.
- Slicing Too Thick: Thick slices will take longer to dry and may not get as crispy.
- Overlapping Slices: This prevents proper air circulation and can lead to uneven drying.
- Baking at Too High a Temperature: This will burn the chips before they have a chance to dry out.
- Not Checking Frequently: Keep an eye on the chips, especially after the first hour, to prevent burning.
Don’t worry if you make a mistake! Just learn from it and try again. That’s how we all improve.
Delicious Variations to Try
Once you’ve mastered the basic recipe, get creative and try some fun variations! Here are a few ideas to get you started:
- Cinnamon-Sugar: Sprinkle with a mixture of cinnamon and a tiny bit of coconut sugar before baking.
- Gingerbread: Add ginger, cloves, and nutmeg for a festive flavor.
- Chocolate: Drizzle with melted dark chocolate after baking.
- Savory: Sprinkle with sea salt and a pinch of cayenne pepper for a sweet and spicy treat.
- Coconut: Add shredded coconut to the banana slices before baking.
The possibilities are endless! Experiment with your favorite flavors and create your own signature banana chip recipe.
How to Store Your Banana Chips
Proper storage is key to keeping your banana chips crispy and delicious. Here’s what you need to know:
- Cool Completely: Make sure the chips are completely cool before storing them.
- Airtight Container: Store them in an airtight container at room temperature.
- Keep Away from Moisture: Moisture is the enemy! Make sure the container is tightly sealed to prevent the chips from becoming soggy.
- Shelf Life: Properly stored banana chips will last for about a week.
If you live in a humid climate, you may want to store them in the refrigerator to keep them crisp. If you find that they have lost their crispiness, you can re-crisp them in the oven at 200°F (93°C) for a few minutes.
Frequently Asked Questions (FAQ)
Got questions? I’ve got answers! Here are some common questions about making banana chips:
- Can I use a dehydrator? Absolutely! Dehydrated bananas are fantastic. Follow your dehydrator’s instructions for fruit.
- Can I use a air fryer? Yes, you can! Arrange the banana slices in a single layer in the air fryer basket and cook at 300°F (149°C) for 8-12 minutes, flipping halfway through. Keep an eye on them, as air fryers can vary.
- Why are my banana chips not crispy? This could be due to several factors: using overripe bananas, slicing too thick, not baking long enough, or not storing them properly.
- Can I add sugar? Of course! Sprinkle with a little sugar before baking if you prefer sweeter chips.
- Can I use different types of bananas? While Cavendish bananas are the most common, you can experiment with other varieties like plantains for a different flavor and texture.
If you have any other questions, feel free to ask in the comments below! I’m always happy to help.
Serving Suggestions
These banana chips are delicious on their own, but here are a few ideas to take them to the next level:
- Trail Mix: Add them to your favorite trail mix for a healthy and satisfying snack.
- Yogurt Topping: Sprinkle them on yogurt for a crunchy and flavorful topping.
- Oatmeal: Add them to your morning oatmeal for a touch of sweetness and texture.
- Ice Cream: Crumble them over ice cream for a fun and unexpected topping.
- Cheese Board: Include them on a cheese board for a sweet and savory pairing.
They’re also a great addition to lunchboxes, road trips, and movie nights!
So there you have it! My super simple, sugar-free, oil-free banana chips recipe. I really hope you give it a try. Remember, cooking should be fun and stress-free. Don’t be afraid to experiment and make it your own. And most importantly, enjoy the process!
Happy snacking, friends! And don’t forget to check out TastyNiche.com for more easy and delicious recipes.
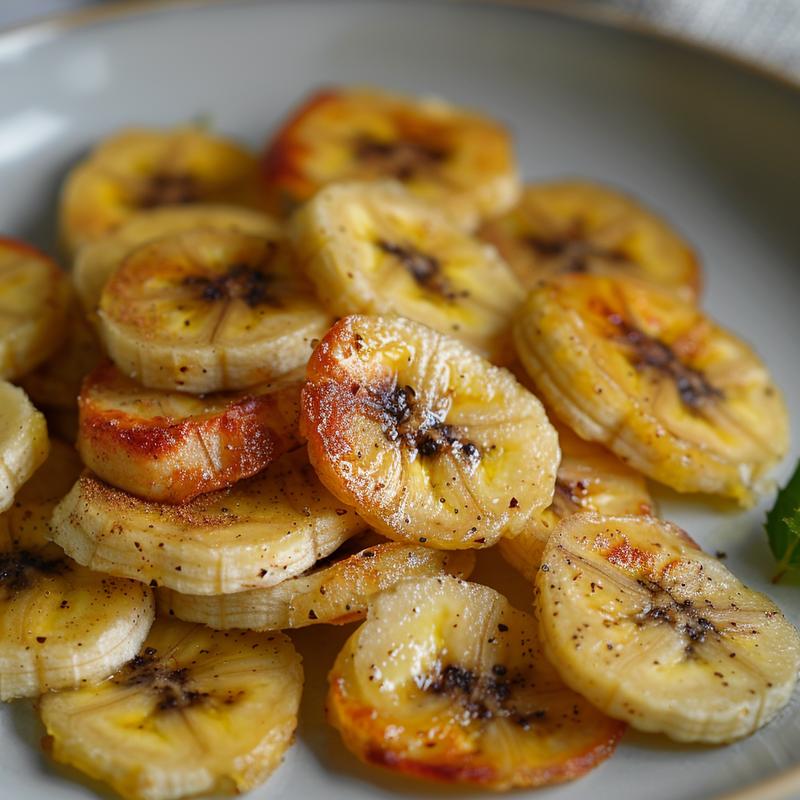
Homemade Banana Chips {Sugar-free & Oil-free}
Ingredients
Method
- Preheat oven to 200°F (93°C). Line a baking sheet with parchment paper.
- Peel and thinly slice bananas (about 1/8 inch thick).
- Arrange banana slices in a single layer on the baking sheet.
- Sprinkle with cinnamon and nutmeg, if using.
- Bake for 1-3 hours, flipping halfway, until dried and crispy. Check frequently.
- Cool completely before storing in an airtight container.
Notes
Loved this recipe? Save it to your favorite Pinterest board so you can easily find it later! ✨