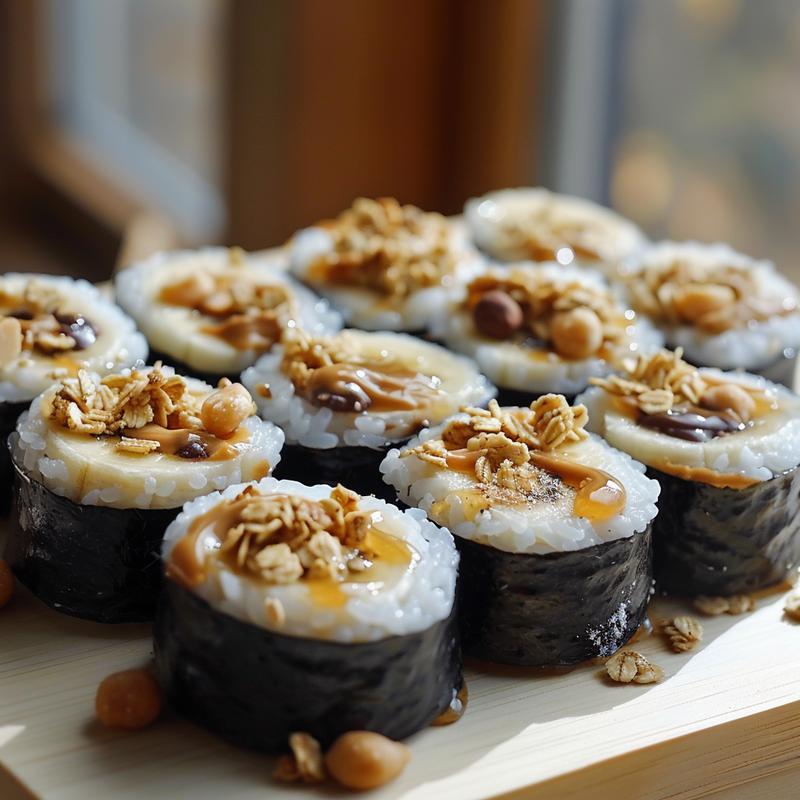
Welcome, friends, to another delightful adventure in the kitchen! Today, we’re not crafting a complex pastry or a multi-layered cake. Instead, we’re embracing simplicity and joy with a recipe that’s perfect for little hands and anyone looking for a quick, healthy treat. We’re making Easy Banana Sushi Rolls, and trust me, it’s a recipe that will bring smiles all around. It’s a fun and creative way to get kids involved in the kitchen, teaching them basic skills while creating something delicious.
In the heart of every artisan’s creation lies intention. These banana sushi rolls embody that spirit. Forget complicated recipes and hours spent toiling away; these banana sushi rolls are a testament to the beauty of simplicity. They’re perfect for a fun daycare snacks, creative healthy snacks for kids, or even as a quick and easy breakfast. It’s a recipe that adapts to your needs and preferences, making it a true kitchen staple.
Why You’ll Love This Recipe
These aren’t just any snacks; they’re a mini-masterpiece of flavor and fun. Here’s why you’ll absolutely adore this recipe:
- Quick & Easy: Ready in minutes, making it perfect for busy days.
- Healthy & Nutritious: Packed with potassium, fiber, and healthy fats.
- Kid-Friendly: A fun activity that gets kids involved in the kitchen.
- Versatile: Endless topping options to suit any taste.
- No-Bake: No oven required, making it a great summer treat.
You’re looking for a healthy snack or a fun activity, this recipe ticks all the boxes. It’s a healthy way to satisfy those sweet cravings without resorting to processed snacks. Plus, it’s a fantastic way to use up ripe bananas that might otherwise go to waste. This recipe is perfect for those moments when you need a quick and easy solution, a treat that’s both delicious and good for you.
Ingredients You’ll Need
Here’s what you’ll need to create these delightful banana sushi rolls:
- 2 large ripe bananas: The riper, the sweeter!
- 1/2 cup peanut butter: Creamy or crunchy, your preference!
- 1/4 cup honey: Optional, for extra sweetness.
- 1/4 cup chocolate hazelnut spread: Like Nutella, optional.
- 1 cup granola: Any flavor, but a mix of oats, nuts, and dried fruit is great.
- 1/2 cup shredded coconut: Unsweetened or sweetened, toasted or untoasted.
- 1/4 cup chopped nuts: Almonds, walnuts, pecans, or a mix.
- 1/4 cup mini chocolate chips: Because why not?
- 1/4 cup sprinkles: Because why not?
- Plastic wrap or parchment paper: For easy rolling.
These ingredients are not just components; they’re the palette from which you paint your edible masterpiece. Each one contributes to the overall experience, from the creamy peanut butter to the crunchy granola. Feel free to adjust the quantities based on your preferences and what you have available in your kitchen.
Step-by-Step Instructions
Let’s get started! Follow these simple steps to create your banana sushi rolls:
- Peel the bananas: Carefully peel both bananas. Make sure you don’t bruise them too much in the process! We want them to look nice and presentable.
- Pat them dry: Gently pat the bananas dry with a paper towel. This helps the peanut butter (or whatever spread you’re using) adhere better.
- Spread the peanut butter: Using a butter knife or spatula, evenly spread the peanut butter over the entire surface of one banana. Don’t be shy! A generous layer is key. If you’re using honey, drizzle it over the peanut butter now. This adds a lovely sweetness and helps the toppings stick even better.
- Spread the chocolate hazelnut spread (optional): If you’re using chocolate hazelnut spread, repeat the process with the second banana. This gives you a nice variety of flavors.
- Prepare your workspace: Lay out a large sheet of plastic wrap or parchment paper. This will make the rolling process much easier and less messy.
- Combine toppings (optional): If you want a mix of toppings on each roll, you can combine them in a shallow dish. For example, you could mix the granola, shredded coconut, chopped nuts, and mini chocolate chips together. This creates a “topping mix” that’s easy to roll the bananas in.
- Prepare individual toppings: Alternatively, you can keep each topping separate in its own bowl. This allows you to create more distinct “sushi rolls” with different flavor profiles.
- Roll the peanut butter banana: Gently place the peanut butter-covered banana onto the prepared plastic wrap or parchment paper.
- Coat with toppings: Carefully roll the banana in your chosen toppings. Press gently to ensure the toppings adhere well to the peanut butter. If you’re using a topping mix, roll the banana until it’s completely coated. If you’re using individual toppings, you can roll it in one topping at a time, or create sections with different toppings. Get creative!
- Roll the chocolate hazelnut banana (optional): Repeat the rolling process with the chocolate hazelnut-covered banana, using your desired toppings.
- Wrap tightly: Once both bananas are coated in toppings, wrap them tightly in the plastic wrap or parchment paper. This helps them hold their shape and prevents the toppings from falling off.
- Chill in the freezer: Place the wrapped bananas in the freezer for at least 30 minutes. This will firm them up and make them easier to slice. You can freeze them for longer if you want a more frozen treat, but I find that 30-60 minutes is the sweet spot.
- Remove from freezer: After chilling, remove the bananas from the freezer.
- Unwrap carefully: Unwrap the bananas carefully, being mindful of any loose toppings.
- Slice into “sushi”: Using a sharp knife, slice the bananas into 1-inch thick “sushi” pieces. The colder the bananas, the cleaner the slices will be. If they’re too soft, pop them back in the freezer for a few more minutes.
- Arrange on a plate: Arrange the banana “sushi” pieces on a plate. You can get fancy and create a visually appealing arrangement, or just pile them up – it’s up to you!
- Add extra toppings (optional): Sprinkle a few extra toppings on top of the “sushi” for added visual appeal and flavor. A few extra chocolate chips, a sprinkle of coconut, or a drizzle of honey can really elevate the presentation.
- Serve immediately: Serve the banana “sushi” immediately. They’re best enjoyed cold, before they start to soften.
Each step is a brushstroke in creating your culinary artwork. Pay attention to the details, and don’t be afraid to experiment. The beauty of this recipe lies in its adaptability. You can adjust the toppings and spreads to suit your taste, making each batch unique.
Pro Tips for Perfect Banana Sushi Rolls
Here are a few extra tips to ensure your banana sushi rolls are a success:
- Use ripe but firm bananas: Overripe bananas will be too soft to slice neatly.
- Chill the bananas before slicing: This makes them easier to handle and prevents the toppings from falling off.
- Use a sharp knife: A sharp knife will give you clean, even slices.
- Don’t be afraid to experiment with toppings: Try different combinations of nuts, seeds, dried fruits, and spices.
- Get creative with the presentation: Arrange the sushi rolls on a plate with a drizzle of honey or a sprinkle of extra toppings.
These pro tips are gleaned from years of experience in the kitchen. They’re the little secrets that elevate a good recipe to a great one. Remember, cooking is as much about the process as it is about the result. Enjoy the journey, and don’t be afraid to make mistakes.
Common Mistakes to Avoid
Even the simplest recipes can have pitfalls. Here’s what to watch out for:
- Using overripe bananas: They’ll be too mushy and difficult to work with.
- Not drying the bananas: The spread won’t adhere properly.
- Skipping the chilling step: The bananas will be too soft to slice.
- Using dull knife: This will result in messy, uneven slices.
- Overloading on toppings: This can make the rolls difficult to handle.
These are the lessons learned from countless batches of banana sushi rolls. They’re the gentle reminders that even the most seasoned artisans can benefit from a little extra care and attention. Avoid these mistakes, and you’ll be well on your way to creating perfect banana sushi rolls every time.
Variations to Try
The beauty of this recipe is its versatility. Here are a few variations to inspire you:
- Tropical Twist: Use coconut flakes, mango pieces, and a drizzle of lime juice.
- Chocolate Lover’s Dream: Use chocolate hazelnut spread, cocoa nibs, and dark chocolate shavings.
- Peanut Butter Powerhouse: Use peanut butter, chopped peanuts, and a sprinkle of sea salt.
- Cinnamon Spice: Use almond butter, cinnamon, and chopped pecans.
- Rainbow Delight: Use a variety of colorful sprinkles and candies.
These variations are just the starting point. Feel free to explore your own flavor combinations and create something truly unique. The kitchen is your canvas, and these banana sushi rolls are your opportunity to express your creativity.
How to Store Banana Sushi Rolls
If you have leftovers (though I doubt you will!), here’s how to store them:
- In the Freezer: Wrap individual slices in plastic wrap and store them in a freezer-safe bag for up to 2 weeks.
- In the Refrigerator: Store the sliced rolls in an airtight container for up to 24 hours. They may soften slightly.
Proper storage is essential for maintaining the quality and flavor of your banana sushi rolls. While they’re best enjoyed fresh, these storage tips will help you preserve them for later enjoyment.
Frequently Asked Questions (FAQ)
Here are some common questions about making banana sushi rolls:
- Can I use different types of nut butter?: Absolutely! Almond butter, cashew butter, or sunflower seed butter all work well.
- Can I use different toppings?: Of course! Get creative with your favorite nuts, seeds, dried fruits, and spices.
- Can I make these ahead of time?: Yes, you can prepare the rolls ahead of time and store them in the freezer until you’re ready to slice and serve.
- Are these suitable for people with nut allergies?: No, if using nut butter or nuts as toppings. Consider using sunflower seed butter and seed-based toppings instead.
- Can I use frozen bananas?: I don’t recommend it. Frozen bananas will be too soft and mushy to work with.
These FAQs are designed to address any concerns or questions you might have about this recipe. If you have any other questions, feel free to ask in the comments below!
Serving Suggestions
Here are some fun ways to serve your banana sushi rolls:
- As a snack: Perfect for an afternoon pick-me-up.
- As a dessert: A healthy and satisfying sweet treat.
- As a breakfast: A quick and easy way to start the day.
- At a party: A fun and interactive snack for kids and adults alike.
- In a lunchbox: A healthy and delicious addition to any lunch.
No matter how you choose to serve them, these banana sushi rolls are sure to be a hit. They’re a fun, healthy, and delicious way to enjoy the simple pleasures of life. It’s a fun cooking recipes for kids that they will enjoy making and eating.
These banana sushi rolls are a testament to the idea that the best things in life are often the simplest. They’re a reminder that you can create something beautiful and delicious with just a few ingredients and a little bit of creativity. So, go ahead, gather your ingredients, and embark on this delightful culinary adventure. Your taste buds (and your little ones) will thank you!
Looking for more inspiration in the kitchen? Check out these related recipes:
Happy creating!

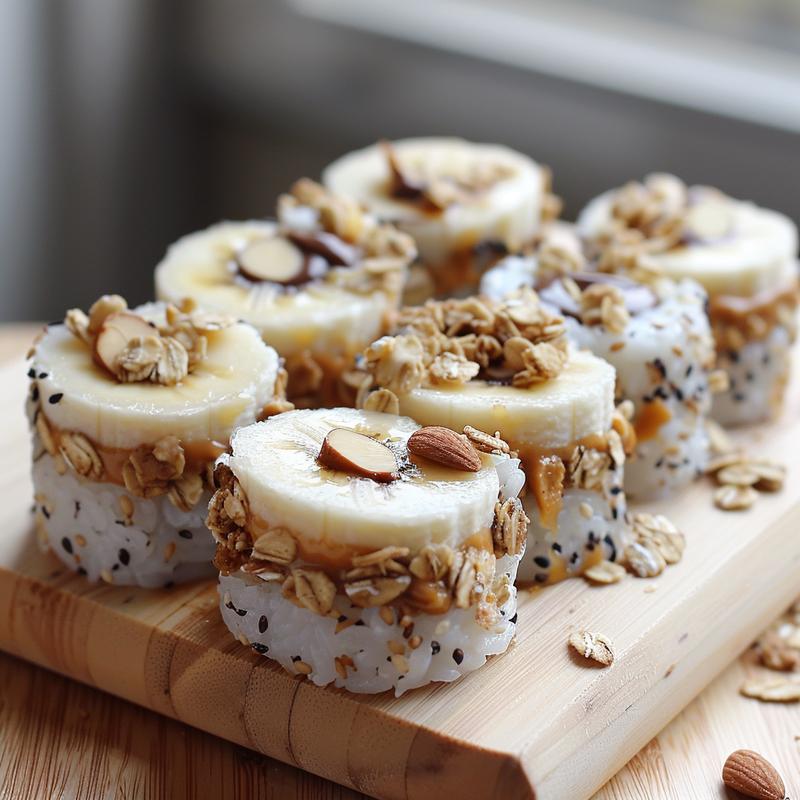
Easy Banana Sushi Rolls
Ingredients
Method
- Peel and pat dry the bananas.
- Spread peanut butter on one banana, drizzle with honey if using.
- Spread chocolate hazelnut spread on the other banana (optional).
- Lay out plastic wrap or parchment paper.
- Combine toppings or keep separate.
- Roll bananas in toppings.
- Wrap tightly and chill in freezer for 30-60 minutes.
- Unwrap and slice into 1-inch pieces.
- Arrange on a plate and add extra toppings (optional).
- Serve immediately.
Notes
Loved this recipe? Save it to your favorite Pinterest board so you can easily find it later! ✨