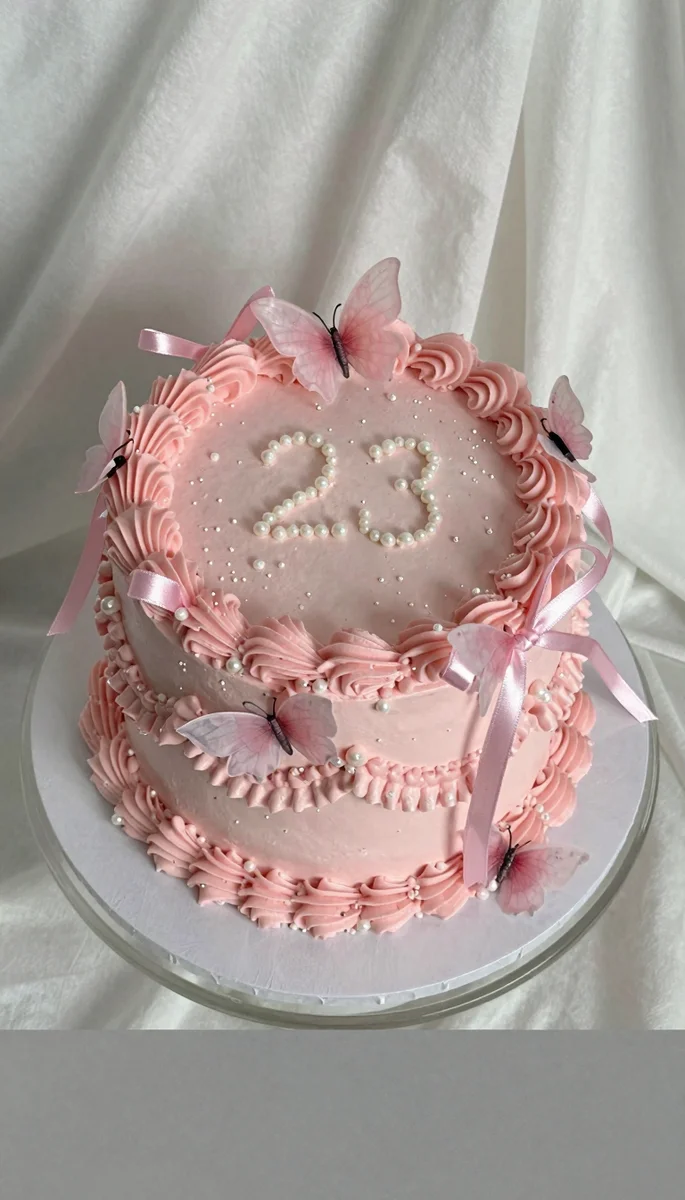
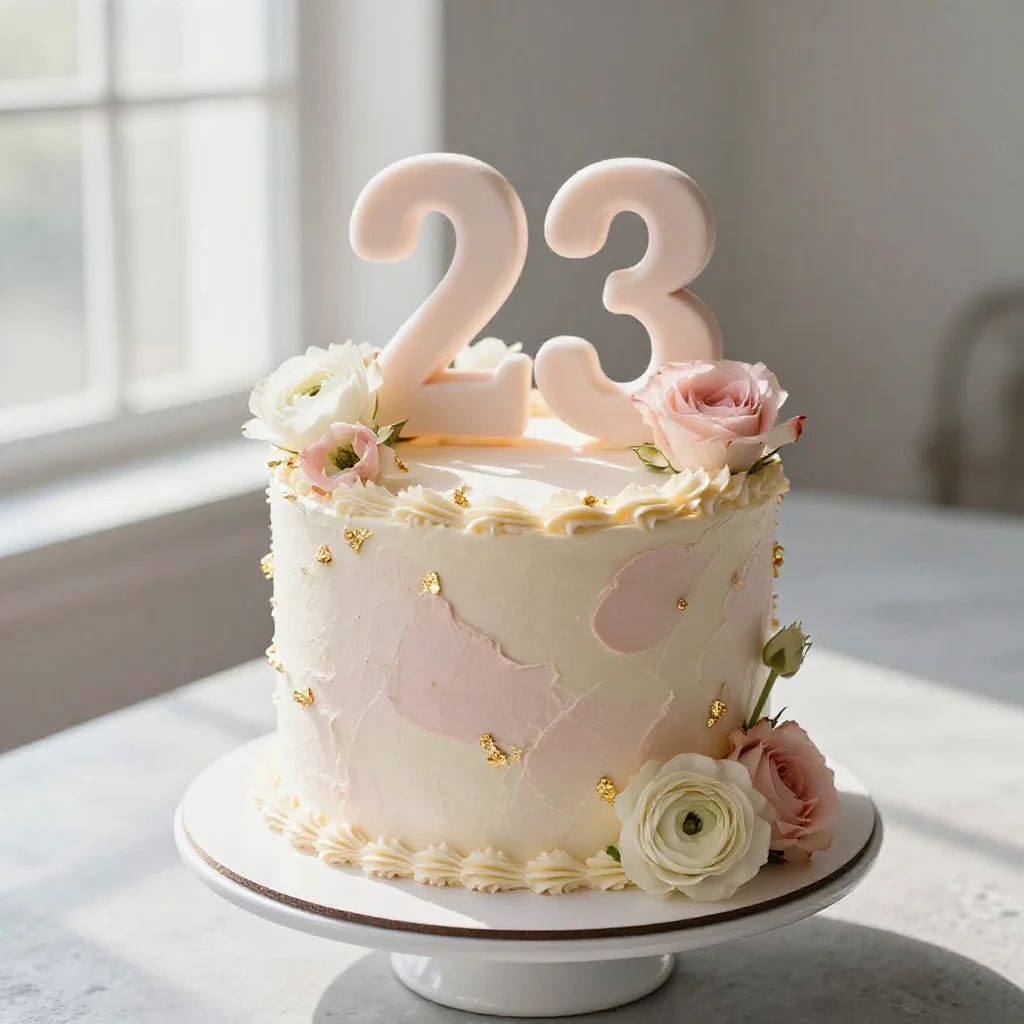
Beautiful 23rd Birthday Cake: Easy Recipe for Her
Making Time for Sweet Moments
As a working mom, I know firsthand how precious time is. Between work, school pickups, and dinner prep, finding extra moments for special gestures can feel impossible. That’s why I’ve become such a huge fan of efficient planning, not just for dinners, but for all life’s important moments.
When a special birthday comes around, like a 23rd birthday, you want to make it memorable. You want to show how much you care without adding more stress to your already packed schedule. This is where a truly easy birthday cake recipe becomes your best friend.
I’ve perfected a beautiful 23rd birthday cake that looks stunning but is completely manageable for anyone. Forget store-bought; this homemade cake is budget-friendly, delicious, and leaves you with plenty of time to enjoy the celebration. It’s all about making those cherished moments happen, without the fuss.
Table of Contents
- Making Time for Sweet Moments
- Why This Cake is a Winner
- Your Baking Essentials
- Baking Her Dream Cake, Step by Step
- Olivia’s Pro Tips for a Perfect Cake
- Get Creative with Your Cake!
- Your Cake Questions Answered
- Ready to Bake?
Why This Cake is a Winner
- Simple Ingredients, Big Flavor: You don’t need fancy items. Everything on the list is easy to find at your local grocery store, ensuring a truly budget-friendly dessert.
- Stress-Free Baking: This recipe is designed to be straightforward, even if you’re not a seasoned baker. Clear steps mean less guesswork and more confidence in the kitchen.
- Beautiful Presentation: With a few simple decoration tricks, this celebration cake will look like it came from a professional bakery. It’s perfect for making her 23rd birthday feel extra special.
Your Baking Essentials
Gathering your ingredients beforehand is key to efficient baking. Here’s what you’ll need to make this delightful birthday cake for her:
For the Cake:
- 2 ½ cups all-purpose flour
- 1 ½ cups granulated sugar
- 3 teaspoons baking powder
- ½ teaspoon salt
- 1 cup (2 sticks) unsalted butter, softened
- 4 large eggs
- 1 cup whole milk
- 2 teaspoons vanilla extract
For the Buttercream Frosting:
- 1 cup (2 sticks) unsalted butter, softened
- 4 cups powdered sugar, sifted
- 3-4 tablespoons whole milk or heavy cream
- 1 teaspoon vanilla extract
- Pinch of salt
- Pink or lavender gel food coloring (optional)
- Edible glitter or sprinkles (optional, for decoration)
Baking Her Dream Cake, Step by Step
This is where the magic happens! Follow these instructions for a perfectly baked homemade cake.
- Prep Your Pans & Oven: Preheat your oven to 350°F (175°C). Grease and flour two 8-inch round cake pans, or line them with parchment paper for easy removal. This little step makes a big difference!
- Combine Dry Ingredients: In a large bowl, whisk together the flour, granulated sugar, baking powder, and salt. Set this aside.
- Mix Wet Ingredients: In a separate medium bowl, cream together the softened butter and eggs until the mixture is light and fluffy. Gradually beat in the milk and vanilla extract until everything is well combined.
- Combine Wet and Dry: Slowly add the wet ingredients to the dry ingredients, mixing on low speed until just combined. Be careful not to overmix; stop as soon as no streaks of flour remain. Overmixing can lead to a tough cake.
- Bake: Divide the batter evenly between your two prepared cake pans. Bake for 25-30 minutes, or until a wooden skewer inserted into the center comes out clean.
- Cool the Cakes: Let the cakes cool in the pans for 10 minutes. Then, gently invert them onto a wire rack to cool completely. This prevents them from getting soggy.
- Make the Buttercream: While the cakes cool, prepare your frosting. In a large bowl, beat the softened butter with an electric mixer until it’s creamy. Gradually add the sifted powdered sugar, one cup at a time, beating until smooth after each addition.
- Finish the Frosting: Add the milk (or cream), vanilla extract, and a pinch of salt. Beat on high speed for 3-5 minutes until the frosting is light, fluffy, and spreadable. For that lovely birthday cake for her look, add a few drops of pink or lavender gel food coloring and mix until evenly colored.
- Assemble the Cake: Once the cakes are completely cool, place one cake layer on a serving plate or cake stand. Spread about 1/3 of the frosting evenly over the top.
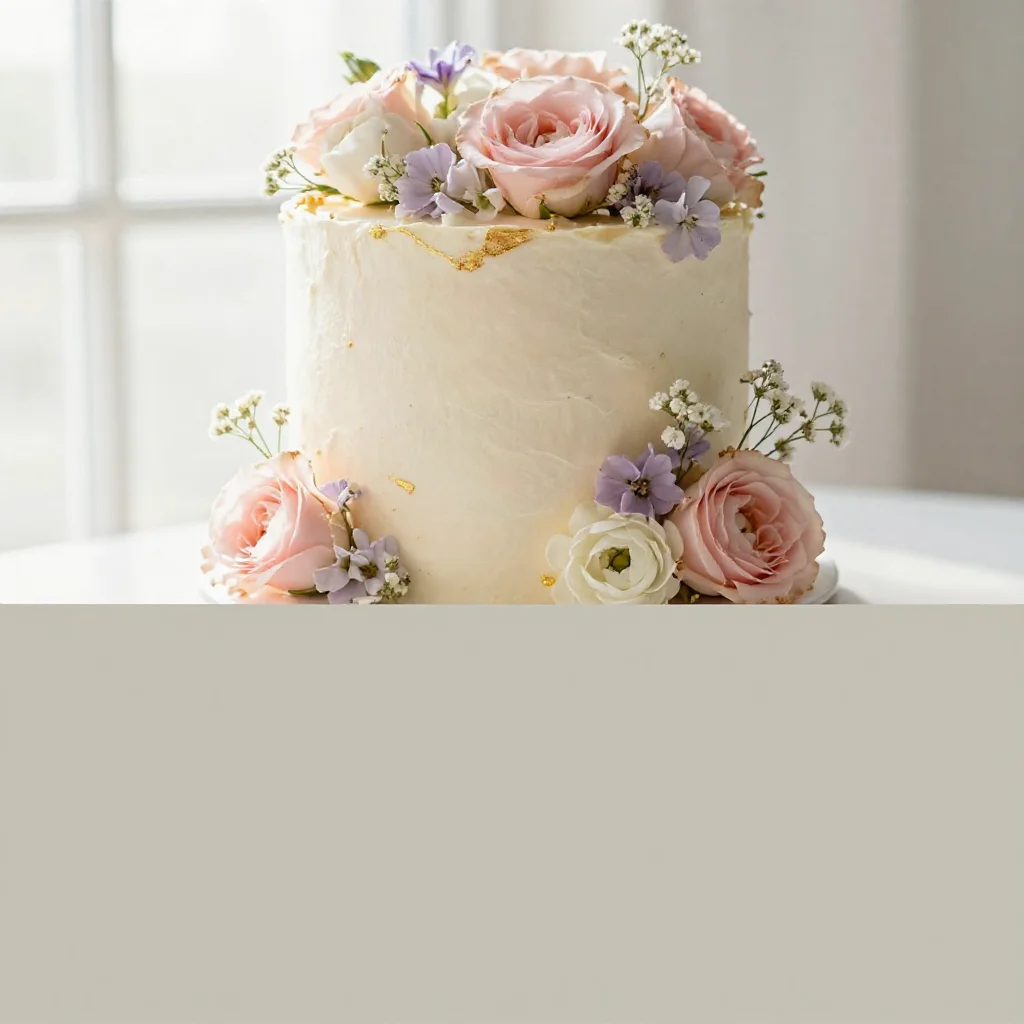
- Frost the Cake: Place the second cake layer on top. Use the remaining frosting to generously frost the top and sides of the entire cake, smoothing it with an offset spatula or knife. For an extra touch, add edible glitter or sprinkles!
Olivia’s Pro Tips for a Perfect Cake
Getting organized and having a few tricks up your sleeve makes baking stress-free. Here are my best tips for this easy birthday cake:
- Room Temperature Ingredients: Always ensure your butter and eggs are at room temperature. This helps them cream together smoothly, resulting in a lighter, more consistent batter.
- Don’t Overmix: Mixing the batter too much can develop the gluten in the flour, making your cake tough. Mix just until the ingredients are combined.
- Cool Completely: Frosting a warm cake is a recipe for disaster – literally! The frosting will melt and slide right off. Be patient and let your cake layers cool completely.
- Level Your Cakes: If your cake layers bake with a dome on top, use a serrated knife to carefully level them. This creates flat surfaces for stacking and a professional look. For more baking wisdom, check out these baby shower cake tips, many apply to any cake!
Get Creative with Your Cake!
This 23rd birthday cake recipe is fantastic on its own, but it’s also a great base for your own creative twists. Don’t be afraid to experiment!
- Flavor Boosts: Add lemon zest to the batter for a brighter flavor, or a touch of almond extract instead of vanilla. You could even fold in some chocolate chips!
- Filling Fun: Instead of just frosting between layers, try a fruit compote, lemon curd, or even a thin layer of chocolate ganache for an extra surprise.
- Different Frosting: While this buttercream is amazing, you could also try a cream cheese frosting or a Swiss meringue buttercream for a different texture. If you’re looking for an even simpler dessert, an easy no-bake dessert is always a hit!
- Alternative Sizes: You can adapt this recipe for cupcakes or a different sized pan, just adjust baking times accordingly. For a different kind of simple apple cake, that’s another delicious option.
Your Cake Questions Answered
I get a lot of questions about baking, so I’ve put together answers for some common ones to help you feel confident with this celebration cake.
Can I make this cake ahead of time?
Absolutely! You can bake the cake layers up to 2-3 days in advance. Once completely cooled, wrap them tightly in plastic wrap and store them at room temperature or in the freezer. You can also make the buttercream a day ahead and store it in the fridge; just let it come to room temperature and re-whip it before frosting.
How do I store leftover cake?
Store any leftover cake in an airtight container at room temperature for up to 3 days, or in the refrigerator for up to 5 days. If you want it to last longer, slices can be frozen for up to a month, wrapped well.
What if I don’t have gel food coloring?
Liquid food coloring works too, but you might need a bit more to achieve a vibrant color, and it can slightly thin out the frosting. Gel food coloring is concentrated and won’t affect the consistency as much, making it my preferred choice for that perfect birthday cake for her look.
Can I make this dairy-free or gluten-free?
While this specific recipe uses dairy and gluten, you can find many excellent dairy-free butter substitutes and plant-based milks that work well. For gluten-free, you would need to use a high-quality gluten-free all-purpose flour blend. Baking substitutions can sometimes alter the texture, so be prepared for slight differences.
Ready to Bake?
There’s something incredibly satisfying about presenting a beautiful homemade cake you’ve made yourself. It’s more than just a dessert; it’s a gesture, a memory, and a testament to the care you put into celebrating someone special.
This easy birthday cake recipe for her 23rd birthday is designed to take the stress out of baking, leaving you with a delicious result and more time for what truly matters – enjoying the company of loved ones. It fits right into my philosophy of delicious party dish prep.
So, grab your apron, gather your ingredients, and get ready to create a memorable treat. And if you’re looking for more simple baking ideas, don’t forget to check out these easy holiday treats for other occasions. Happy baking!
Beautiful 23rd Birthday Cake For Her
Ingredients
Method
- Preheat oven to 350°F (175°C). Grease and flour two 8-inch round cake pans or line with parchment paper.
- In a large bowl, whisk together flour, granulated sugar, baking powder, and salt. Set aside.
- In a separate medium bowl, cream softened butter and eggs until light and fluffy. Gradually beat in milk and vanilla extract.
- Slowly add wet ingredients to dry, mixing on low speed until just combined. Do not overmix.
- Divide batter evenly between pans. Bake for 25-30 minutes, or until a wooden skewer comes out clean.
- Cool cakes in pans for 10 minutes, then invert onto a wire rack to cool completely.
- While cakes cool, prepare buttercream: Beat softened butter until creamy. Gradually add sifted powdered sugar, one cup at a time, until smooth.
- Add milk (or cream), vanilla, and a pinch of salt. Beat on high for 3-5 minutes until light and fluffy. Add food coloring if desired.
- Once cakes are cool, place one layer on a serving plate. Spread about 1/3 of the frosting over the top.
- Place the second cake layer on top. Use remaining frosting to frost the top and sides, smoothing with a spatula.
- Decorate with edible glitter or sprinkles. Chill for 15-30 minutes before serving for easier slicing. Happy 23rd Birthday!
Notes
Loved this recipe? Save it to your favorite Pinterest board so you can easily find it later! ✨